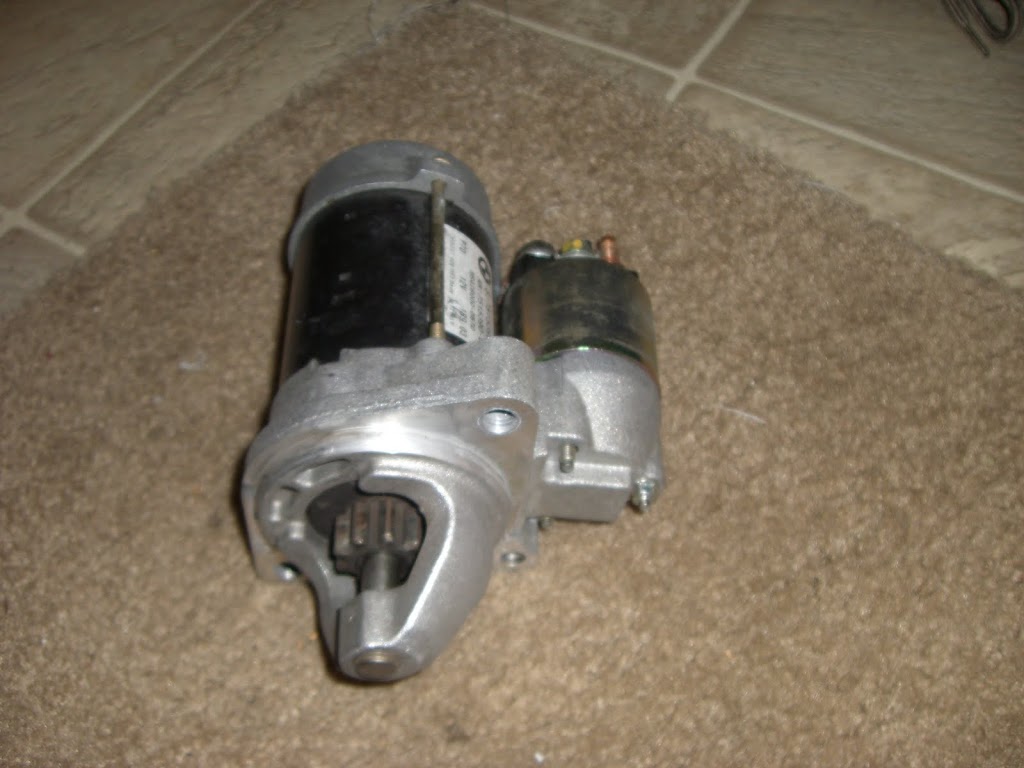
2003 BMW Z4 2.5i Starter and starter solenoid switch replacement guide.
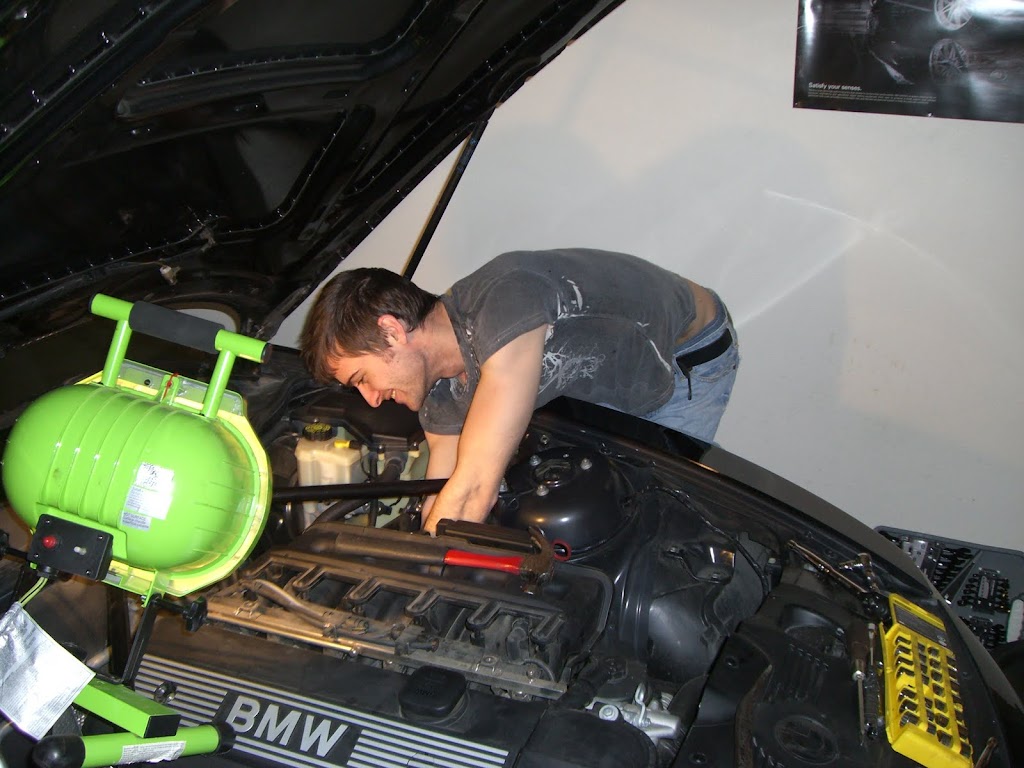
This will take you probably about 2 hours to get everything disconnected and then reconnected.
First, disconnect the battery.

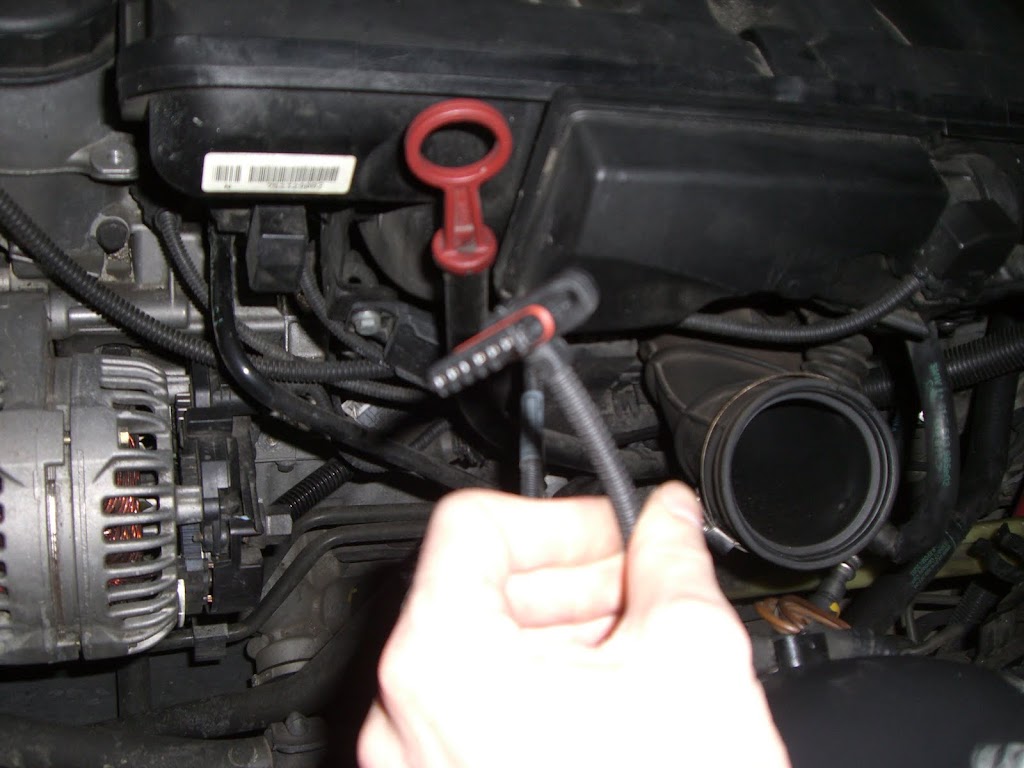
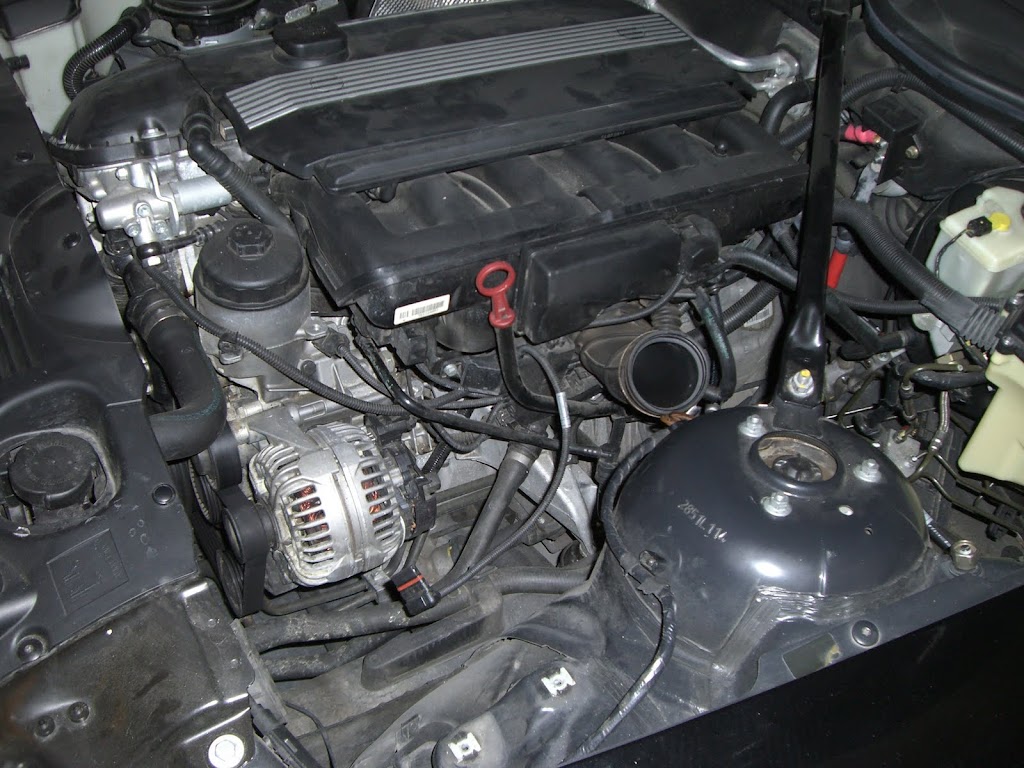
Some people say to remove the air intake filter box and pipe. This is not neccisary, but I do recommend it because it gives a little additional working room. I did this first by unbolting the two airbox bolts and disconnecting the sensor.

Next there are two large torx style bolts that need to be removed. These are the ones that connect the Starter to the bell housing of the transmission. They are 10mm.
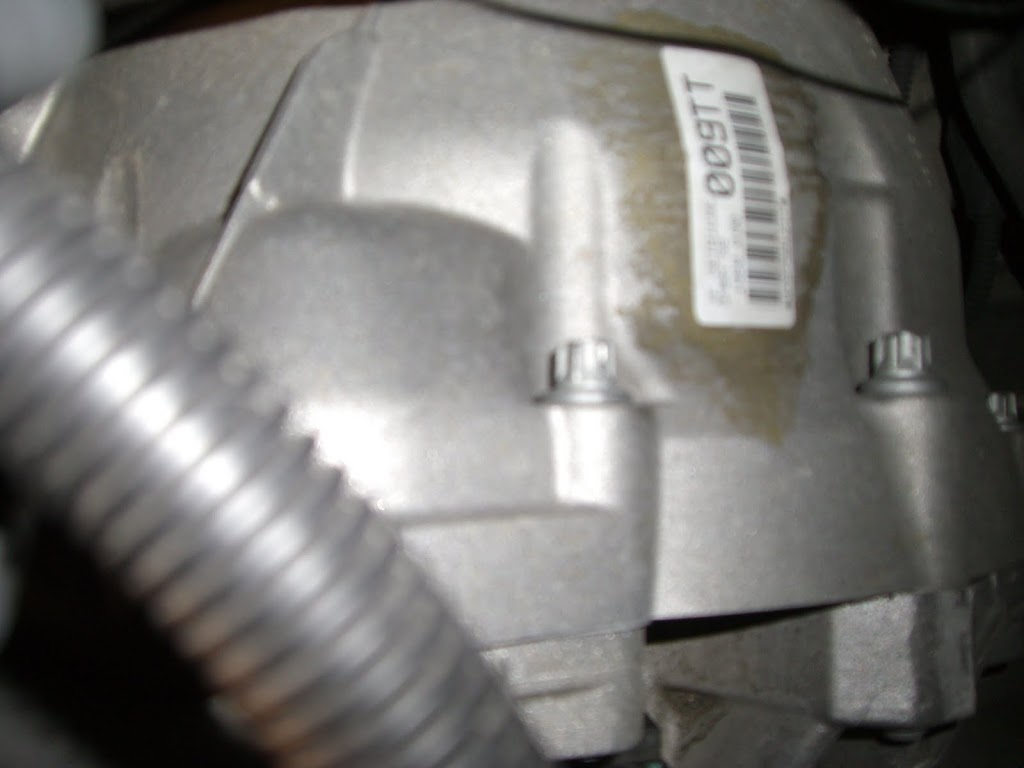
This picture shows 3, but you only need to remove two. When you look at them, it will be obvious which ones you need to take out.
Next you will need to remove the starter from the bell housing. It needs to slide towards the front of the car. You will probably need to tap on it near where it makes a seal with a flat head screw driver or something else that will break the seal. Be careful though not to use something too sharp on a flat surface of it. It's made of aluminum and you can damage it fairly easily. Once you have the seal broken, pull towards the front of the car and wiggle a little. It shouldn't be too hard to remove it all the way. Try pulling a little on the attached wires to give some slack as there isn't very much.

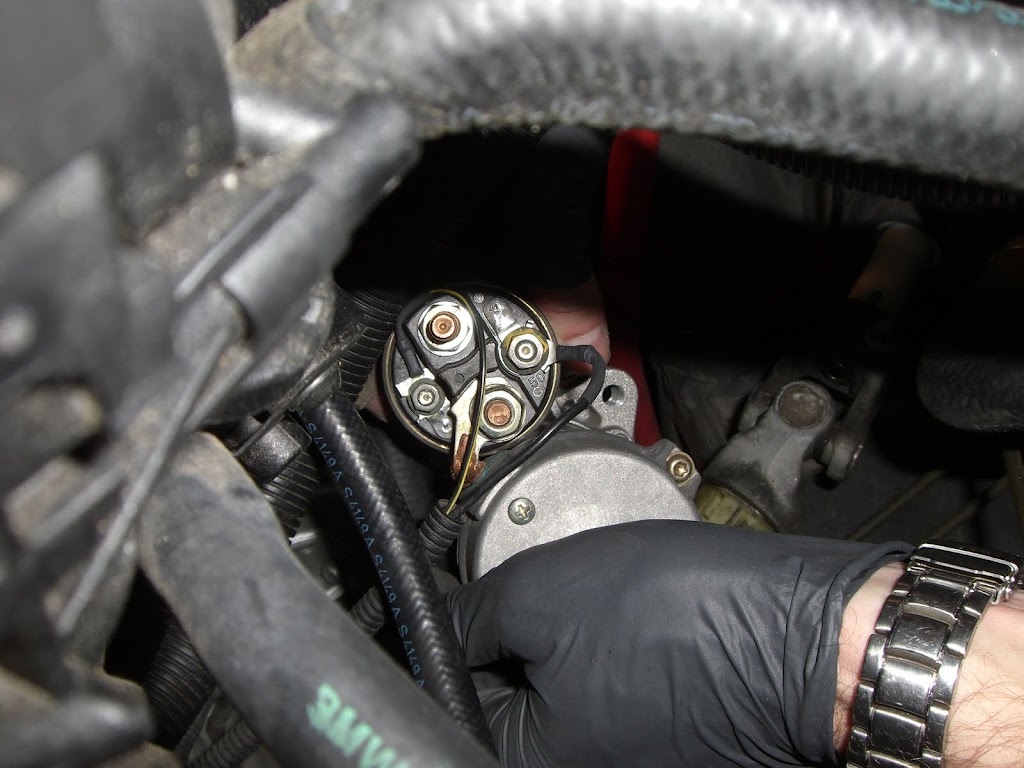
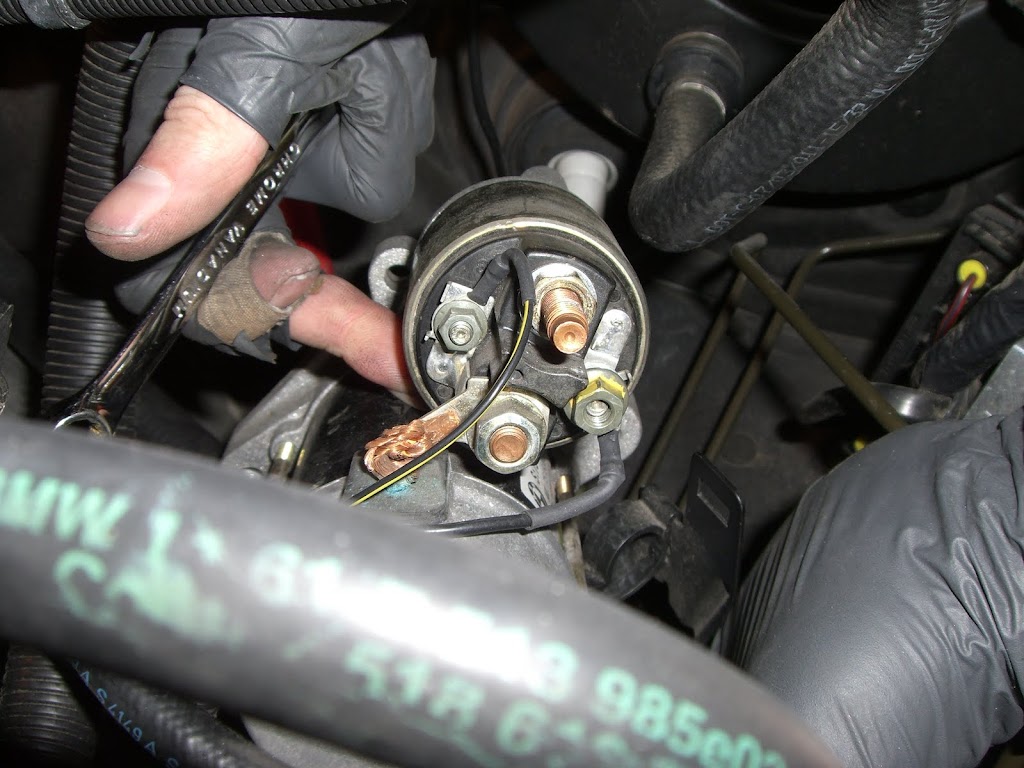
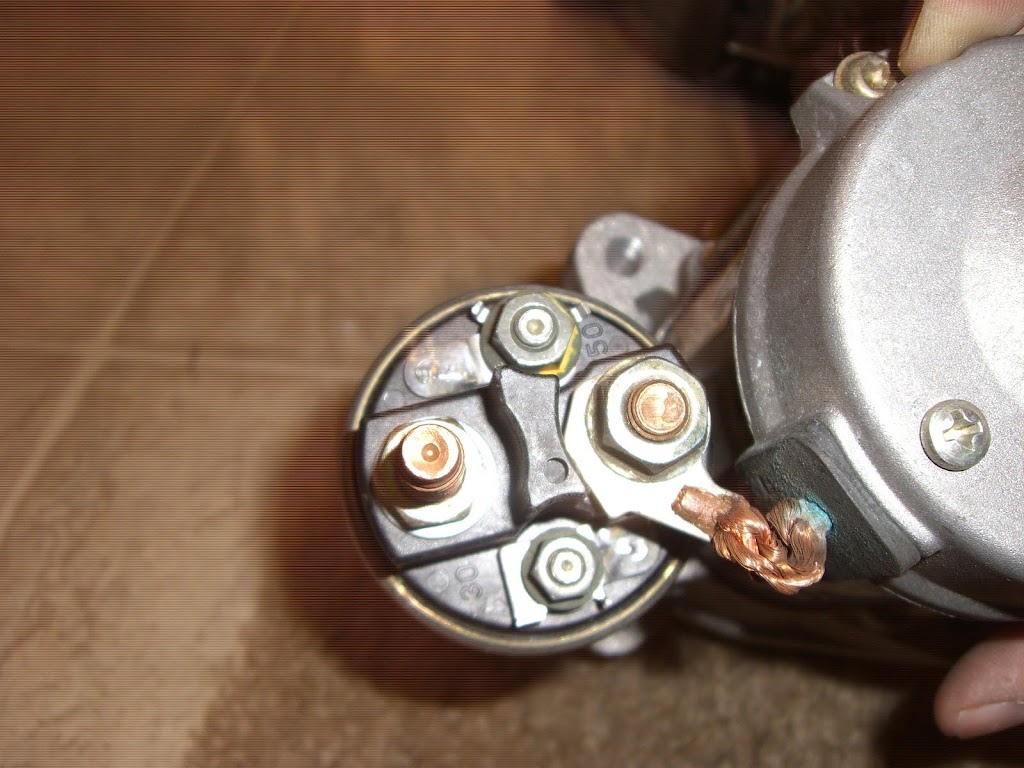
Once the starter is removed, you will need to disconnect the cables from the solenoid switch that is attached to the starter. There is one positive cable coming from the battery (where you would jump the car under the hood), and on positive cable from the starter to the alternator. There will also be two small black cables that need to be removed. The two positive cables are secured with a 13mm nut. One of the small black cables is secured with an 8mm nut and the other is secured with a 10mm nut. Remember or take note of where each of these is connected.
Once these are removed, you can lift the starter up and out of the engine bay.
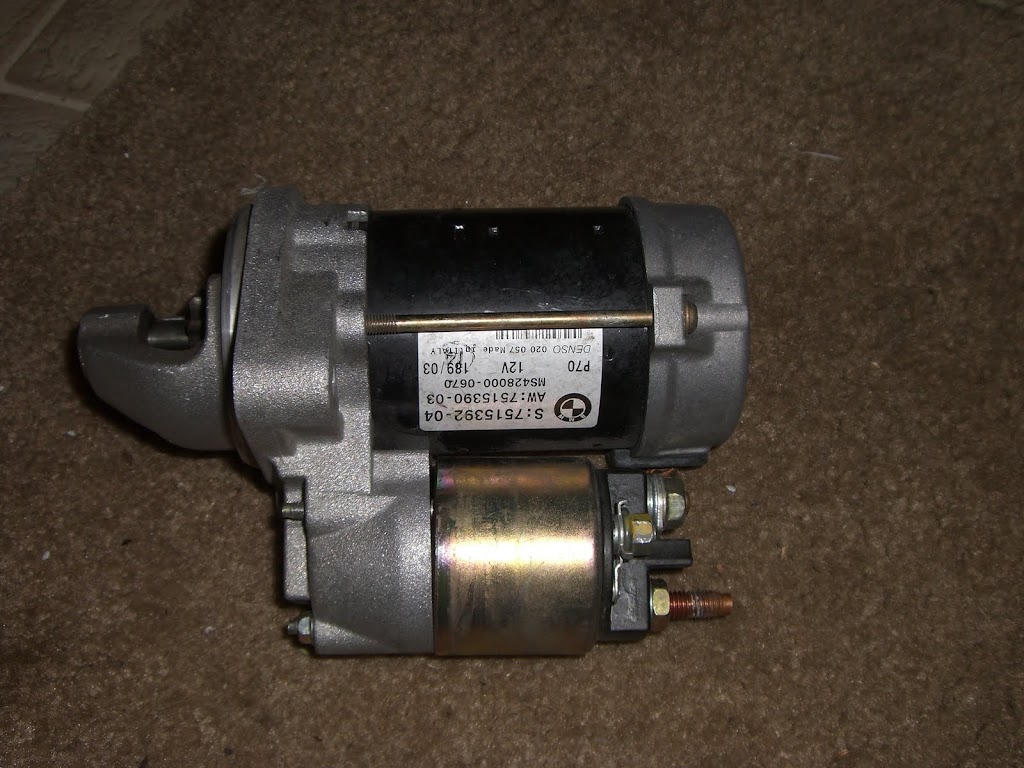
To install the new starter, just follow these steps in reverse order.
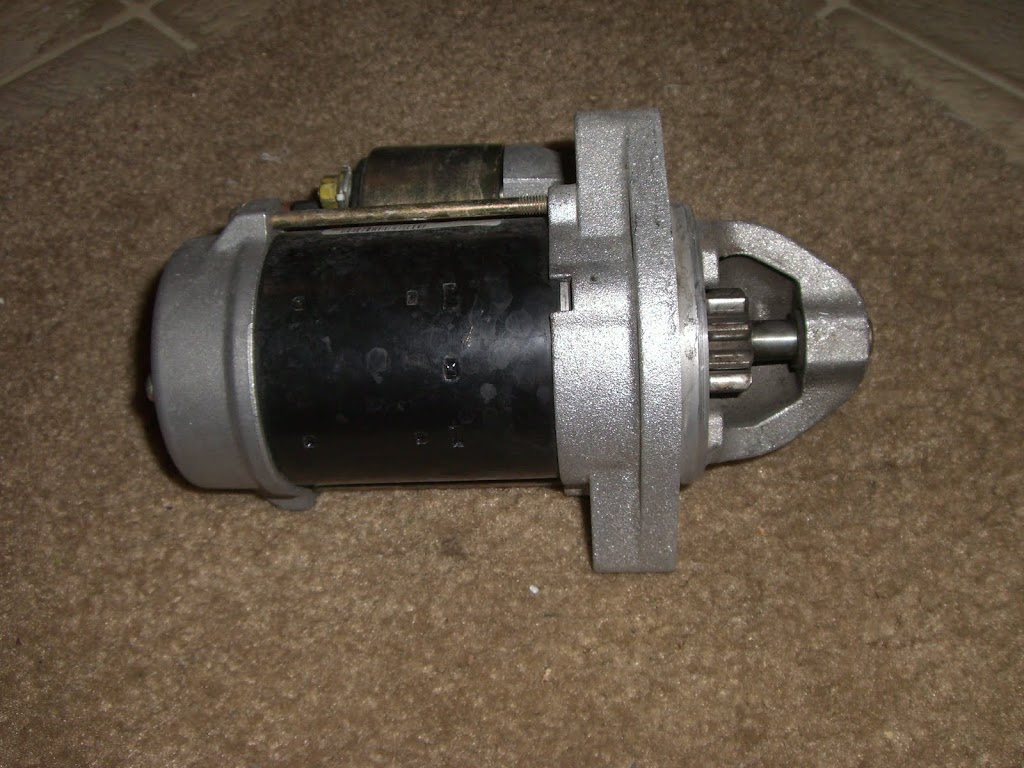
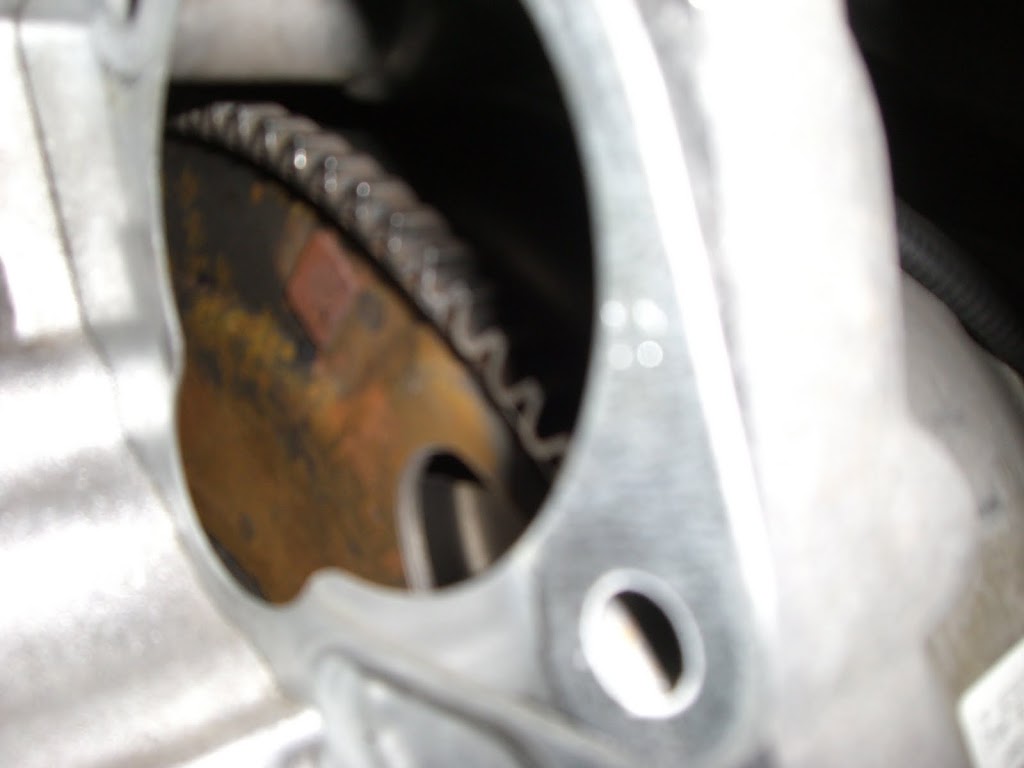
Here's an image of the inside of the bell housing that it fits in.
Have fun!